Halloween is the perfect time to get creative in the kitchen, and making a ghost cake is a fun way to combine the festive spirit with delicious flavors. Whether you’re preparing for a Halloween party or just want to surprise your family, a ghost cake will surely impress. The best part? It’s easy to make with the right ingredients and tools.
This guide will walk you through every step, from gathering the ingredients to decorating your ghost cake with spooky charm. Along the way, we’ll suggest some related recipes, like spider deviled eggs and other Halloween-themed treats, to inspire your Halloween menu.
Ingredients and Tools You’ll Need
Before diving into the recipe, ensure you have all the necessary ingredients and tools:
- Cake Base: Choose between pumpkin cake or classic vanilla cake layers.
- Buttercream Frosting: Vanilla buttercream is ideal, though cream cheese frosting also works well.
- Food Coloring: Black, white, and orange will bring your ghost to life.
- Decorations: Use fondant or buttercream to create the ghost’s face and other details.
In addition to these ingredients, tools like cake pans, piping bags, and offset spatulas will help you create a polished result. For more spooky ideas to pair with your cake, you might explore Halloween mummy hot dogs for a complete party spread.

Step-by-Step Recipe for Ghost Cake
1. Bake the Cake Layers
Start by baking your cake layers. You can choose a pumpkin cake for that seasonal fall flavor or stick with a classic vanilla cake. Preheat your oven to 350°F (175°C) and prepare your cake pans by greasing them and lining the bottoms with parchment paper. Divide the batter evenly and bake until a toothpick inserted into the center comes out clean.
For an additional savory Halloween recipe, check out spider pizza as a fun and creepy snack option.
2. Make the Buttercream Frosting
While your cake layers cool, prepare the buttercream frosting. Beat the butter until it’s smooth and fluffy, then gradually add powdered sugar, vanilla extract, and cream until you achieve a smooth consistency. If you’re looking for an easy dessert to serve alongside the cake, try these chocolate chip cupcakes for a chocolatey twist.
3. Stack and Frost the Cake
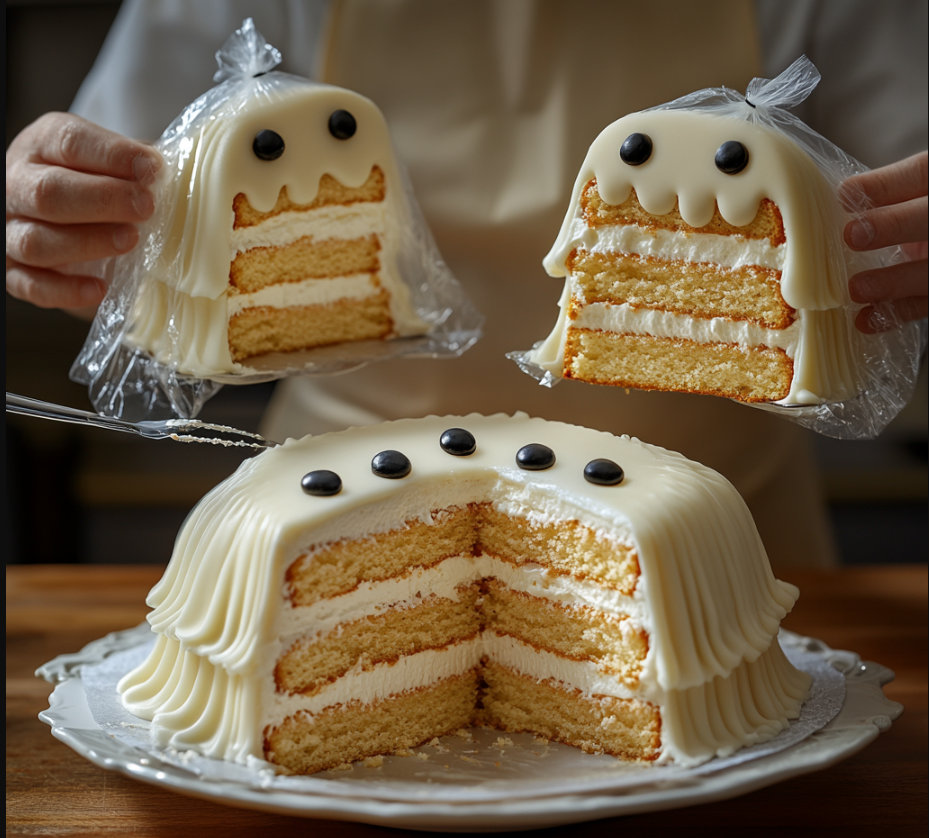
Once your cake layers are completely cooled, it’s time to assemble. Start by leveling the cake layers and stacking them with a thin layer of buttercream between each one. Apply a crumb coat to seal in the crumbs, then chill the cake for 15-20 minutes before applying the final layer of frosting. This step helps you achieve a smooth finish.
For more tricks to make your Halloween spread unforgettable, check out this witches’ brew Halloween punch to complement your spooky desserts.
4. Decorate the Ghost
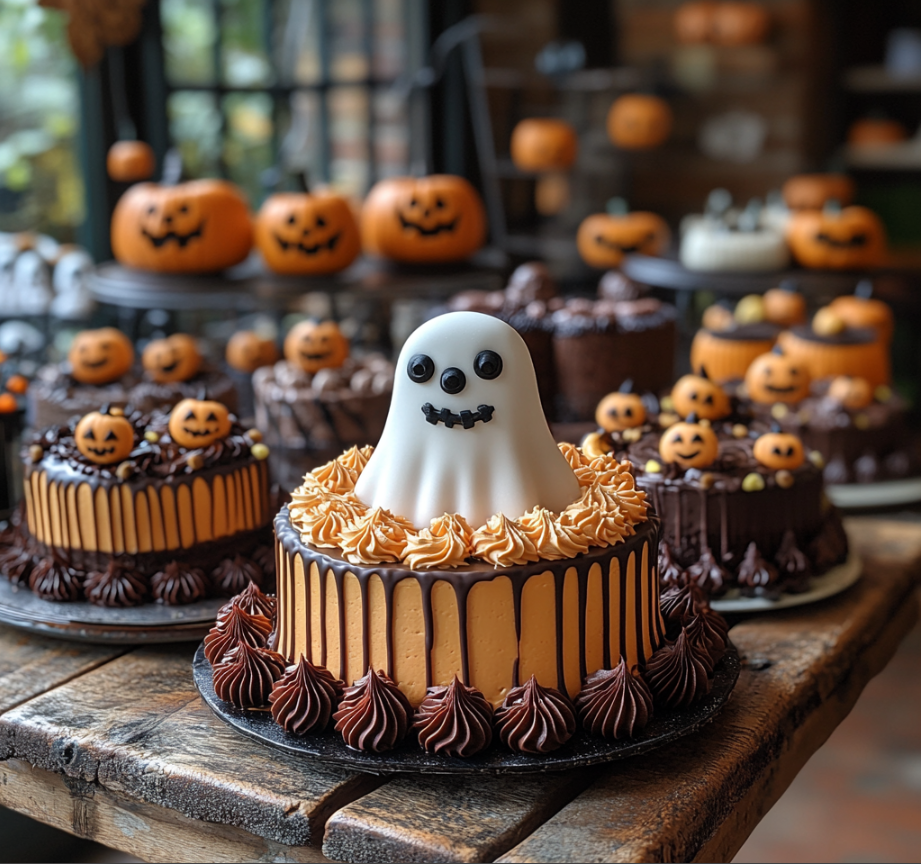
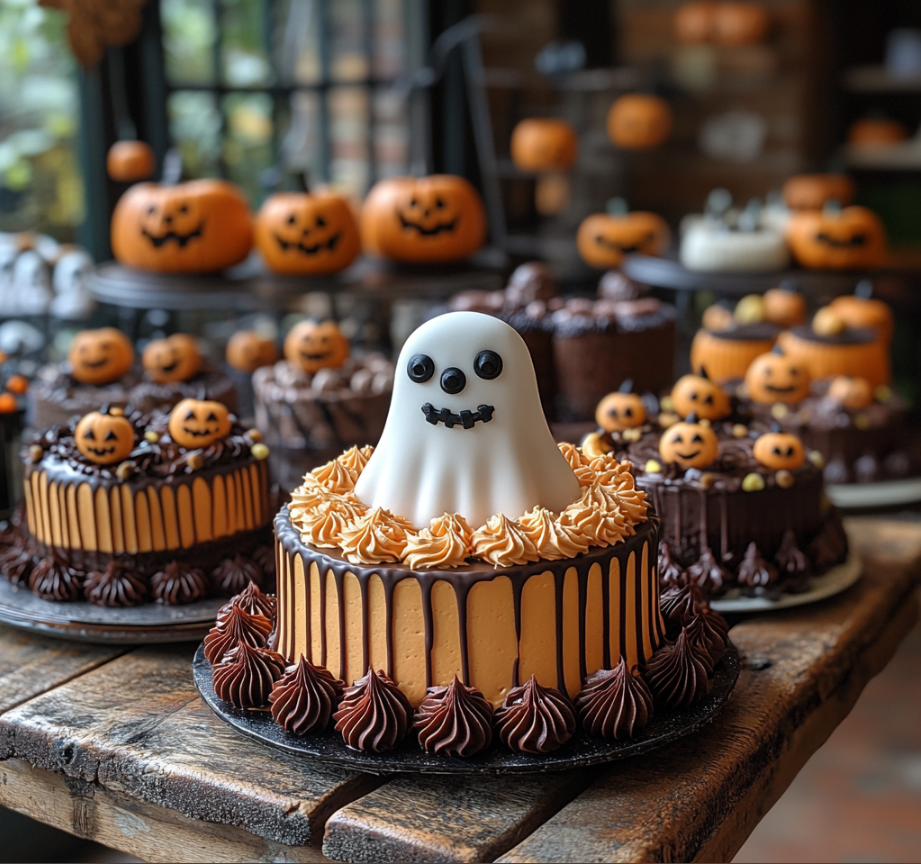
Now it’s time to add some personality to your ghost! Use black buttercream to pipe the eyes and mouth. Add some pink for cheeks and orange buttercream to create a pumpkin detail at the base. For a fun twist, you can add ruffled buttercream at the bottom to give your ghost the appearance of floating.

Variations and Substitutions
If you want to put your own spin on this recipe, here are some easy variations:
- Flavors: Try swapping pumpkin for chocolate or red velvet for a richer flavor.
- Dietary Alternatives: Use gluten-free flour or plant-based butter to make this cake suitable for all dietary preferences.
- Natural Colorings: Consider using natural food dyes, such as beet juice for pink or squid ink for black.

FAQs About Ghost Cake
Q: Can I use a store-bought cake mix for the ghost cake?
A: Yes! A boxed cake mix can save time, though making a cake from scratch allows more control over the flavor and texture.
Q: How long does the ghost cake last?
A: If stored in the refrigerator, it can last up to a week. The buttercream helps to lock in moisture.
Q: Do I need to use fondant to decorate the ghost cake?
A: Not necessarily! You can use buttercream for all the decorations, which is often easier to work with.
Q: What flavors work best for a ghost cake?
A: Pumpkin, vanilla, and chocolate are all popular choices. You can experiment with other flavors too.
Tips for Perfecting Your Ghost Cake
Here are some tips to ensure your ghost cake turns out perfect every time:
- Measure Ingredients Carefully: Accurate measurements ensure your cake has the right texture.
- Chill the Cake Before Frosting: This makes it easier to frost and decorate.
- Apply a Crumb Coat: This initial thin layer of frosting will help lock in any crumbs, making your final coat smooth.
Presenting and Serving the Ghost Cake
For an extra spooky presentation, serve your ghost cake alongside themed treats like mummy hot dogs or spider eggs for a full Halloween spread.
Storing and Freezing Leftovers
If you have leftover cake, wrap the exposed sections in plastic wrap to prevent drying. The cake can be stored in the refrigerator for up to a week or frozen for up to a month. Thaw it in the refrigerator before serving.

