Looking for a quick and satisfying dessert without the hassle of baking? The Oreo cake in a mug is a perfect solution! With just a few simple ingredients and a microwave, you can whip up this tasty treat in minutes. Whether you’re creating a video tutorial or just craving a solo dessert, this recipe is guaranteed to impress.
Why You Should Try an Oreo Mug Cake
The Oreo mug cake has gained popularity because it’s:
- Fast and easy to make.
- Perfect for individual servings.
- Requires only a microwave.
- Customizable with various toppings.
Not only is this dessert quick and convenient, but it’s also versatile. You can adjust it based on your preferences or add your favorite toppings. If you’re curious about other simple recipes, check out this delicious Oreo Mug Cake recipe for even more inspiration.

Ingredients for Your Oreo Cake in a Mug
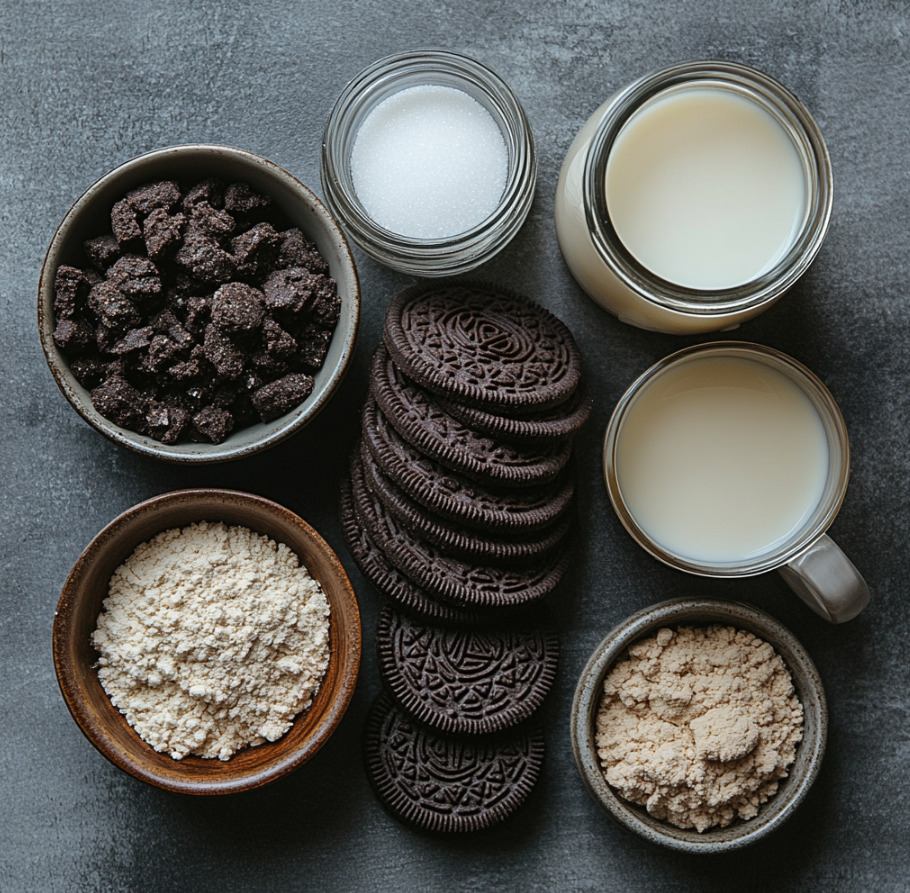
Before getting started, gather the following ingredients:
- 4–5 Oreos (crushed)
- 4 tablespoons milk (dairy or plant-based)
- 1/4 teaspoon baking powder (optional for a fluffier texture)
- 1 teaspoon sugar (optional, depending on your sweetness preference)
Optional toppings:
- Whipped cream
- Ice cream
- Extra Oreo crumbs
Additionally, for a creative twist, you can explore trendy versions like this Tiktok Oreo Mug Cake recipe.

Step-by-Step Guide: How to Make an Oreo Mug Cake
Step 1: Crush the Oreos
Start by placing 4–5 Oreos in a microwave-safe mug. Use a fork to crush them into smaller pieces. For a smoother texture, consider blending the Oreos or using a rolling pin to crush them.
Step 2: Mix Ingredients
Next, add 4 tablespoons of milk to the mug. Stir well until the Oreos and milk combine to form a smooth batter. If you want a fluffier cake, you can add a pinch of baking powder.
Step 3: Microwave Your Mug Cake
Place the mug in the microwave and heat the mixture on high for 1 minute. If the cake isn’t cooked through, continue microwaving in 10-second intervals. Make sure the top is firm, but the inside remains soft and moist.
Step 4: Let It Cool and Add Toppings
After the cake has cooked, let it cool for about a minute before adding your favorite toppings. You can use whipped cream, ice cream, or even extra crushed Oreos for an indulgent touch.

Try These Variations
Once you’ve mastered the classic Oreo mug cake, experiment with these fun variations:
- Double Chocolate Mug Cake: Add a tablespoon of cocoa powder for an extra rich flavor.
- Vegan Mug Cake: Use almond or oat milk instead of dairy for a plant-based version.
- Gluten-Free Mug Cake: Swap regular Oreos for gluten-free Oreos to accommodate gluten sensitivities.
For more creative dessert ideas, you might want to check out these delightful Strawberry Cupcakes for a fruity twist on a classic dessert.
Common Mistakes to Avoid
Even though this recipe is easy, a few common mistakes can make or break your mug cake:
- Over-microwaving: This can dry out your cake. Start with 1 minute and check for doneness from there.
- Not mixing thoroughly: Make sure the Oreos and milk are fully combined to achieve the perfect texture.
- Using too small a mug: A 12-ounce mug works best to prevent overflow while the cake rises in the microwave.
By paying attention to these details, your Oreo mug cake will come out perfectly every time.
FAQs About Oreo Mug Cake
1. Can I make an Oreo mug cake without baking powder?
- Yes! Baking powder is optional, though it does make the cake fluffier. Without it, the cake will be slightly denser.
2. How long should I microwave my Oreo mug cake?
- Typically, 1 minute is enough. If the cake isn’t fully cooked, microwave it in 10-second intervals until it reaches the desired consistency.
3. Can I add other ingredients to this recipe?
- Absolutely! You can mix in cocoa powder, chocolate chips, or even peanut butter to customize your mug cake.
For more tips on microwave-friendly treats, you might enjoy trying this easy Chocolate Chip Cupcake recipe.
Conclusion
Making an Oreo cake in a mug is not only quick but also incredibly fun and customizable. Whether you stick to the classic version or try out different variations, this dessert is sure to satisfy your sweet cravings in no time. With just a few ingredients and a microwave, you can have a delicious treat ready in minutes. If you’re looking for more dessert ideas, be sure to explore other recipes like this delightful Coconut Cookies for even more inspiration!

